When your hard drive has failed, where do you turn for help? In many cases the supplier or manufacturer of your computer or hard drive are not the best place to deal with your data loss. Also your warranty only covers the hardware and not your lost files.
So why choose us at Dataquest ?
With over 15 years of experience we are very familiar with all types of hard drive failures. Unlike many other companies our costs are fixed and based on how quick you wish to have your recovered data returned. Like many other companies we offer a free diagnosis, but unlike many others this does not determine eventual recovery cost but decides wether the hard drives problem is mechanical or not. We use the latest hardware and techniques to produce the best results possible.
On a more personal note customer service is a large part of what we do and understanding customer needs is paramount. We will in many cases go beyond what other companies would deem cost effective when recovering lost data. We use all our acquired knowledge to exhaust all possibilities.
We are also partnered with many IT support companies around the UK, to enable us to connect with customers who would other wise have not known of our services.
I had an issue in searching for content within Apple Mail. Every time I tried to search for any particular phrase the Mail application crashed and closed instantly. So I decided to Rebuild the Mailboxes. Before doing this I checked that my latest Time Machine backup had carried out successfully. (It had.)
Once confirmed I clicked Rebuild from the Mailbox drop down menu. Instantly all the mail disappeared and I was left wondering whether it was doing anything. I was patient and waited to see what would happen and sure enough after a couple of minutes all my mail re-appeared intact.
What worried me was that there was no indication that the rebuild was being done. No progress bar or spinning wheel, just an empty window. If I had been impatient I could easily have force quit the rebuild process thinking the application had crashed. That would have resulted in an Apple Mail restore to be sure.
On the Apple Website details are very basic. So, be patient, go for a walk and then come back and see if the rebuild worked.
We’ve been hearing reports of data loss with certain external hard drives after an upgrade to the latest Mac operating system Mavericks. The blame seems to fall to the disk management software that Western Digital bundle with their external hard drives. In response WD has removed WD Drive Manager, WD Raid Manager, and WD SmartWare from their website until they figure out the problem.
We have already had first-hand data recovery enquiries for such disks, so it remains to be seen if these issues can be resolved, or if the data is permanently damaged. One notable case involved a 6TB RAID with two 3TB drives in a mirrored array. After the update to Mavericks, the volume appeared as an empty 3TB drive.
It’s worth noting that even if you use a Western Digital RAID drive set as a mirror, this problem can still cause data loss. Both disks in the mirror are susceptible to the same problem. Remember that RAIDs need to be backed up even more than single disks!
We’ve now completed the recovery process for one of these hard drives. It appears that the drive we received had been formatted to an empty MyBook volume. The way the Mac filesystem stores data means although most of the files can be recovered, it is not possible to restore the original file and folder structure. This causes issues for files like InDesign which link to external files by name when you add graphics to the document.
We’ve not yet seen enough of these disks to know if this is a common outcome for all affected disks.
The other day I got an error message from Time Machine that it wanted to start from scratch with the backups on my Time Capsule. As I only use the Time Capsule as one part of my backup routine that was no big deal. I made sure my other non Time Capsule backups were up to date and then clicked Start New Backup. But what if the Time Capsule had been my only backup? I’d have been running without a backup for as long as Time Machine takes to backup my machine from scratch. Somehow I’ve trimmed my work laptop down to 78GB but it still estimated 6-14 hours until completion. (Yes, over wireless. No, I can’t relocate my office for the day.) What if my laptop died in that time? I’d have a dead laptop, a deleted Time Machine backup and an unfinished Time Machine Backup. In other words I’d be stuffed!
Now don’t get me wrong, I think that Time Machine has been brilliant in getting people making regular backups and I applaud the ease of use. The problem I have is that the language they use in their warnings is not strong enough. People should be more scared of losing their precious family photos or business files. There’s no need to sugar coat it. Also instead of deleting the old backup first, Time Machine should start a new backup and then delete the old one after the new one is verified. As long as there is enough free space of course. In my case there was plenty of free space.
I have included the original warning text below, along with my own version. I’ve not gone totally overboard, and sure it could use some work, but little details like this could really costs somebody some important data. It’s worth spending some time on.
Original Message Text
Transcript: Time Machine completed a verification of your backups on “Time Capsule”. To improve reliability, Time Machine must create a new backup for you.
Click Start New Backup to create a new backup. This will remove your existing backup history. This could take several hours.
Click Back Up Later to be reminded tomorrow. Time Machine won’t perform backups during this time.
My Version
Time Machine must create new backup for you. Fixed
Transcript: Time Machine has found a problem with your backups on “Time Capsule”. First backup any important files, then click Start New Backup. This will create a new backup and then delete the old one. This could take several hours and you will be at risk of data loss until it completes.
Click Back Up Later to be reminded tomorrow. Time Machine won’t perform backups during this time.
Notes
There are a few interesting things to point out here. As you are starting from scratch with the backup, you lose any old versions of files that Time Capsule had stored. It’s bad practice but some people will happily delete files from their computer, safe in the knowledge that Time Capsule has a copy. In that scenario, deleting the backup would be a disaster!
I still don’t know exactly what caused the problem with my Time Capsule backup, but since starting again I haven’t seen that message.
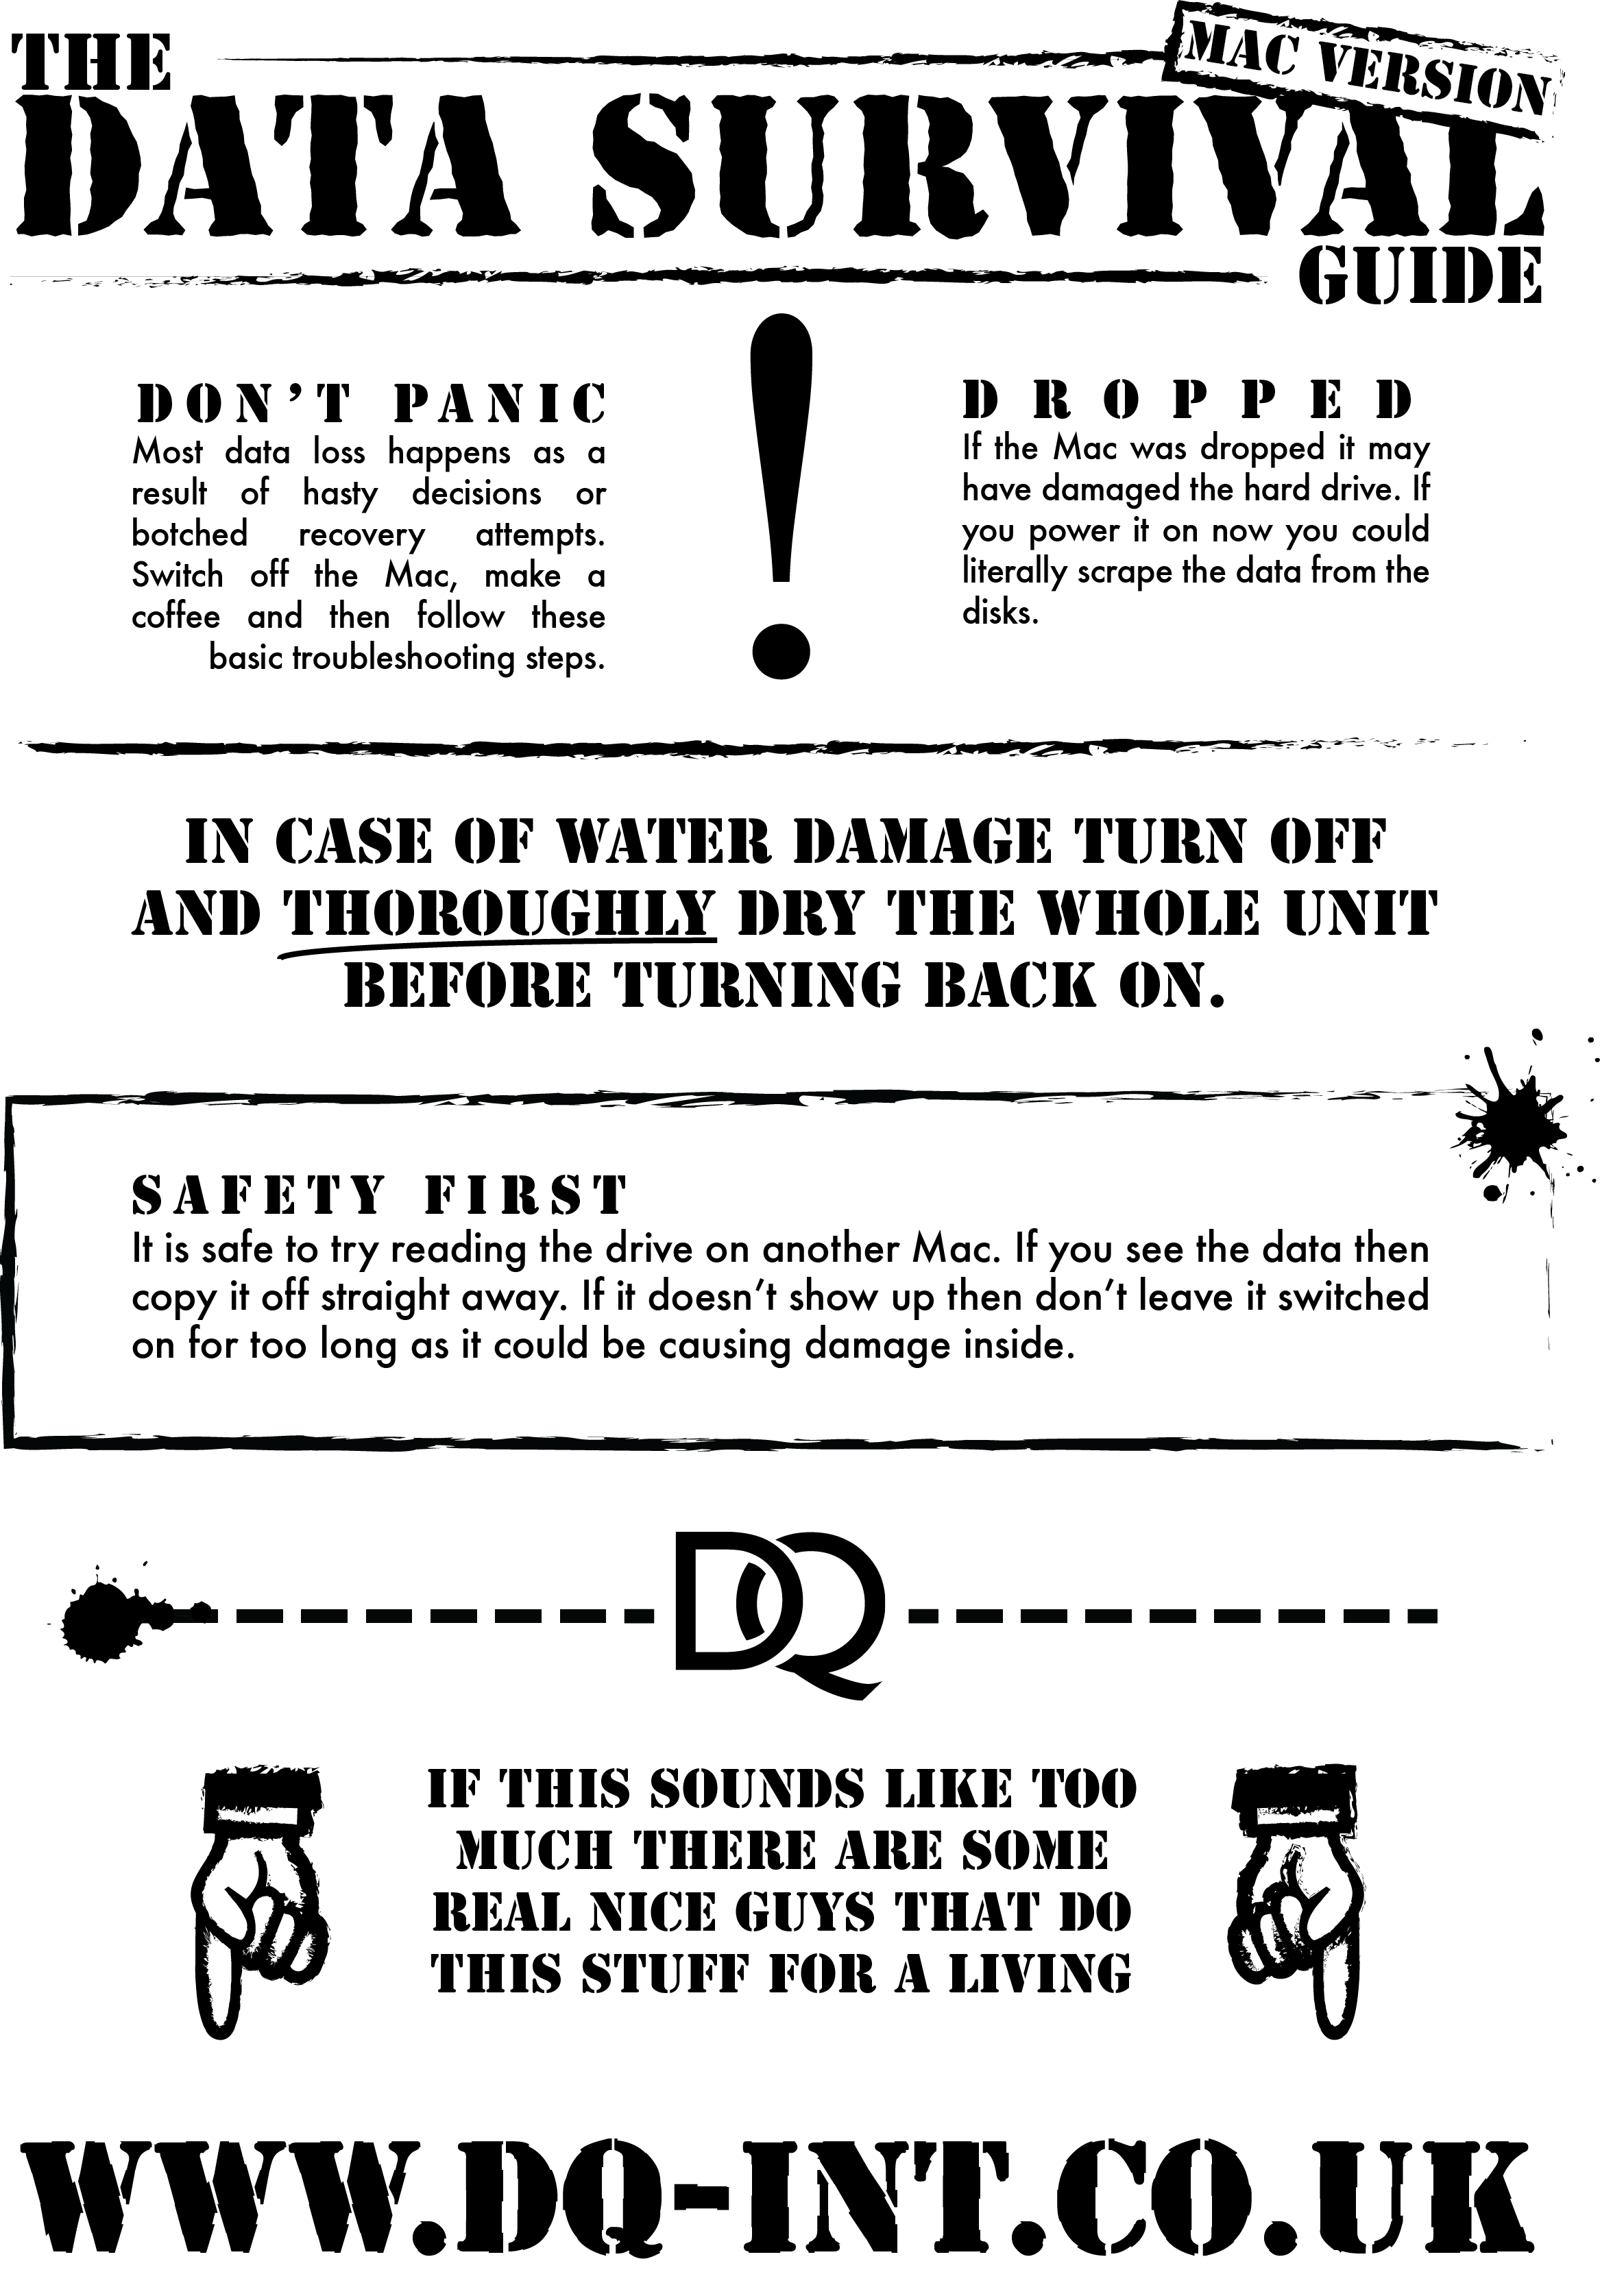
Many hard drives we see have been more damaged by a failed recovery than they were in the first place. We have released the Data Survival Guide to help people avoid some of the common mistakes. This first version is for Mac users but we have more on the way.
Why not print this out and keep it in your laptop bag in case of emergency!
When we recover iPhones, although we can usually provide the data in a computer-readable format, it is often easier to just load the data back onto another iPhone. Fortunately, as long as you restore the data in the correct order, you should get your iPhone up and running with your restored data.
Preparation
Before you attach the iPhone you need to make sure iTunes is ready for it. You need to put the recovered iPhone backup into the correct place for iTunes to find. Quit iTunes first.
The iPhone backups go into:
C:\Documents and Settings\username\Application Data\Apple Computer\Mobile Sync\Backup
Now copy your iPhone backup folder from the recovered data to the backup folder on the computer. If you’ve ever made any iPhone backups they will be in this folder with long unreadable names of random numbers and letters. It doesn’t matter that you can’t read it, iTunes can. Don’t rename it!
So now your /MobileSync/Backup folder should look something like:
iPhone Backup Folder
Remember that the string of numbers will not be the same.
Next you can launch iTunes and see if the iPhone backup is seen in the list. Within iTunes select Preferences and then the Devices tab (Image Below). If your backup file has been recognised then you should see the iPhone name in the list and the date of the backup. If not, go back and check that everything is in the right place.
iPhone Backup Preferences
Sign In
Next, it’s a good idea to sign in to the iTunes Store. If you’ve not used this computer with this iPhone before you may also need to authorise the computer to access your purchased apps and media. Once signed-in to the store you should choose the Store menu and select “Authorise This Computer…” Be aware that you can only authorise a set number of computers. (The limit can be reset if needed.)
Media
Now you can import the Music and apps into iTunes. Don’t worry if some of the apps don’t have icons yet.
Lets Go
Once all that is finished you are ready to connect the new iPhone. You will need to follow some on-screen prompts and settings, and then it will ask if you want to set it up as a new device, or restore it from a backup. This is where all that hard work pays off. Choose the backup, and let iTunes work its magic. It can take a while if you have lots to restore but when it’s finished your phone should boot into a familiar screen. Your Contacts, Messages, Calendars, Notes and lots of other data will be back in their respective apps.
If none of the other apps got transferred you can choose the Apps tab within iTunes and tick “Sync Apps.” You can then tick whichever apps you want to send to the iPhone.
Starting with Mac OS X Lion (10.7) Apple decided to hide the Library folder within the User folder. It’s not gone, just hidden. Some crucial files like Mail accounts and iPhone backups get stored there, so there is a handy way to find the folder again.
To find the hidden library folder, go to Finder and click the Go menu at the top of the screen. You will see a list of folders. Now if you press the alt / option key on your keyboard you will see the hidden library folder appear. This is only a temporary way in, and you will have to press the key again next time. The folder remains hidden the rest of the time.
Now in a new 7mm slimline form factor, and Advanced Format specification, the HTS5450 hard drive is proving a popular choice for vendors with limited space. The drives are especially popular in Ultra thin laptops and slim portable external cases. Now being manufactured by Western Digital under the brand name of HGST, the 500GB boasts just a single media platter to store all that data. Part of the redesign also brings Advanced Format to these drives. Certain older operating systems such as Windows XP require the use of the HGST Align Tool provided by Western Digital. Users of the latest OS X systems and Windows 7+ do not require the use of this Tool.
Advanced Format has been introduced to cram more data on a single platter. To do this the manufacturer has increased the standard 512 byte sector size to a 4096 byte sector. This format design also incorporates better data integrity, hopefully giving the customer all round better performance and reliability.
Plenty of shops will sell you a “Mac Hard Drive” but there is no reason why you cannot use a windows format drive on a Mac. You just need to format it first. There was once a time when a drive was specially formatted by Apple to use on their Macs, but these days Apple use the same hard drives as everyone else. To use with the latest versions of OS X I would recommend following the steps below.
NOTE: Formatting your drive will destroy all the data. Make sure there’s nothing on there you need.
1. First attach the drive to your Mac. The Mac will notify you with a small finder window to initialise the drive. See below.
Initialize Your Drive For A Mac
2. Once you have clicked initialize you will see the Disk Utility Application window. See below.
Mac Disk Utility
3. You need to select the drive you want to format in the left hand window of the utility as highlighted in blue. Internal drives show as grey and external drives show as yellow. At this point make sure you choose the correct drive, the utility will not allow you to format the internal boot drive. See below.
Drive selected
4. Now choose the Partition Tab. See below.
Partition Tab
5. Now click on the Partition Layout drop down bar and choose the first option “1 Partition”. Also to the right under Partition Information give your drive a name and below that choose the partition type you want which will be Mac OS Extended ( journaled ). We are nearly there. You now need to click on the options tab in the bottom left of the utility window and choose GUID Partition Table and click okay. As you will read in the text information, this allows the drive to be used with all current OS X Macs. See Below.
Options Tab
7. Now all you need to do is click the apply button as shown in red below.
Apply
8. Another window will appear asking for confirmation to partition the drive. Click partition. See below.
Partition Drive
9. A formatting window with a progress bar will now appear and then disappear when done. You will now see your named drive in the left window, which means that your drive is now formatted. Close the disk utility and the hard drive is ready to use. See below.
We have been offering Apple Mac Data Migration as a service for many years now. Here’s a quick reminder about this service which we call Mac Setup. You are bound to be over the moon when you are told that we have recovered your lost data, but in many cases this is only half the battle.
We wrote a detailed blog on the subject back in November 2011, but it still appears to trouble many customers.
We still often get the questions: “What do I do with the recovered data once I receive it?” and “How do I get the data back into it’s original places on my Mac?” For out-of-warranty Macs, this is where our Mac Setup comes into play. For a fixed cost we will provide you with a new installed hard drive, with all your recovered data migrated into it’s original locations, so that when you receive your Macintosh computer back, hey presto! it’s as if your Mac had never failed in the first place, everything up and running as it was.

 In the course of recovering data for our