Author: Dan Dilloway

  • Mavericks (10.9) Western Digital Data Loss (UPDATED)

    Mavericks (10.9) Western Digital Data Loss (UPDATED)

    We’ve been hearing reports of data loss with certain external hard drives after an upgrade to the latest Mac operating system Mavericks. The blame seems to fall to the disk management software that Western Digital bundle with their external hard drives. In response WD has removed WD Drive Manager, WD Raid Manager, and WD SmartWare from their website until they figure out the problem.

    We have already had first-hand data recovery enquiries for such disks, so it remains to be seen if these issues can be resolved, or if the data is permanently damaged. One notable case involved a 6TB RAID with two 3TB drives in a mirrored array. After the update to Mavericks, the volume appeared as an empty 3TB drive.

    It’s worth noting that even if you use a Western Digital RAID drive set as a mirror, this problem can still cause data loss. Both disks in the mirror are susceptible to the same problem. Remember that RAIDs need to be backed up even more than single disks!

    More info and links at MacRumours

    Update – 8-11-2013

    We’ve now completed the recovery process for one of these hard drives. It appears that the drive we received had been formatted to an empty MyBook volume. The way the Mac filesystem stores data means although most of the files can be recovered, it is not possible to restore the original file and folder structure. This causes issues for files like InDesign which link to external files by name when you add graphics to the document.

    We’ve not yet seen enough of these disks to know if this is a common outcome for all affected disks.

  • What To Do When You Run Out Of Space

    It’s a common problem that as we generate more data each year we start running out of space to put it. This is now even more of an issue in the smartphone market, where built-in cameras are generating increasingly large photos and videos, without providing much in the way of additional storage. The most common iPhones are still 16 & 32GB but the photos they now produce can be megabytes in size, with videos easily reaching 1GB.

    What To Do When You Run Out Of Space
    What To Do When You Run Out Of Space

    It’s tempting to take that data and put it somewhere else, so either a laptop or external hard drive. Then once you’ve copied it all you delete it from the phone and gain back all that space. Problem solved.

    Not So Fast…
    If that copy on your laptop is now the only copy, then you could be one spilt coffee from disaster. If the laptop goes up in smoke, gets stolen, dropped or any of the myriad other ways of failing then it’s bye bye data.

    The Fix

    The key to making backups is redundancy. The key to making backups is redundancy. The key to making backups is redundancy.

    You need to make extra copies of your data to different types of storage. This could be an external hard drive, NAS, USB Pen, SD card, anything. But don’t just pick one of those. Make a few backups. Put one in a locked safe somewhere. Send photos off to the cloud. Store a copy of your music at your nan’s house. If any of those copies gets lost or broken you can just replace it with another copy.

    So let’s run through an example. All those photos on your iPhone have filled it up. Here’s what I would do:

    1. Copy the photos to my computer. Check them.
    2. Backup the computer as usual. (You’re already doing that, right?)
    3. Make another backup, or copy the photos to an online storage service like Dropbox.
    4. Now it is safe to delete the photos from the iPhone and revel in all that fresh space.

    Note: Deleted photo recovery is virtually impossible for all modern iPhone versions due to encryption. 

    Here’s another example for when your computer runs out of space instead:

    1. Is it possible to upgrade the internal storage? If it is then you should do that.
    2. If this is not possible, or too expensive then you will have to get creative. It will be more fiddly but copy all data to two external hard drives.
    3. You always want to avoid just leaving your data in one place. All electronic devices can (and will) fail, and they have a terrible habit of doing so at the worst possible moment.

    So, just remember that no single copy of your files are safe. Making extra copies is cheaper and easier than waiting until something fails.

    Thanks to Alexander Armstrong for inspiring this post.

  • Time Machine Must Create A New Backup For You

    Time Machine must create new backup for you
    Time Machine must create new backup for you

    The other day I got an error message from Time Machine that it wanted to start from scratch with the backups on my Time Capsule. As I only use the Time Capsule as one part of my backup routine that was no big deal. I made sure my other non Time Capsule backups were up to date and then clicked Start New Backup. But what if the Time Capsule had been my only backup? I’d have been running without a backup for as long as Time Machine takes to backup my machine from scratch. Somehow I’ve trimmed my work laptop down to 78GB but it still estimated 6-14 hours until completion. (Yes, over wireless. No, I can’t relocate my office for the day.) What if my laptop died in that time? I’d have a dead laptop, a deleted Time Machine backup and an unfinished Time Machine Backup. In other words I’d be stuffed!

    Now don’t get me wrong, I think that Time Machine has been brilliant in getting people making regular backups and I applaud the ease of use. The problem I have is that the language they use in their warnings is not strong enough. People should be more scared of losing their precious family photos or business files. There’s no need to sugar coat it. Also instead of deleting the old backup first, Time Machine should start a new backup and then delete the old one after the new one is verified. As long as there is enough free space of course. In my case there was plenty of free space.

    I have included the original warning text below, along with my own version. I’ve not gone totally overboard, and sure it could use some work, but little details like this could really costs somebody some important data. It’s worth spending some time on.

    Original Message Text

    Transcript: Time Machine completed a verification of your backups on “Time Capsule”. To improve reliability, Time Machine must create a new backup for you.

    Click Start New Backup to create a new backup. This will remove your existing backup history. This could take several hours.

    Click Back Up Later to be reminded tomorrow. Time Machine won’t perform backups during this time.

    My Version

    Time Machine must create new backup for you. Fixed
    Time Machine must create new backup for you. Fixed

    Transcript: Time Machine has found a problem with your backups on “Time Capsule”. First backup any important files, then click Start New Backup. This will create a new backup and then delete the old one. This could take several hours and you will be at risk of data loss until it completes.

    Click Back Up Later to be reminded tomorrow. Time Machine won’t perform backups during this time.

    Notes

    There are a few interesting things to point out here. As you are starting from scratch with the backup, you lose any old versions of files that Time Capsule had stored. It’s bad practice but some people will happily delete files from their computer, safe in the knowledge that Time Capsule has a copy. In that scenario, deleting the backup would be a disaster!

    I still don’t know exactly what caused the problem with my Time Capsule backup, but since starting again I haven’t seen that message.

  • When Backups Go Bad

    When Backups Go Bad
    When Backups Go Bad

    We often hear from people that have lost their data, despite having some sort of backup. It’s important to remember that your backup is no-longer a backup if it becomes the only copy of your data. We usually suggest having at least two forms of backup to cover this problem.

    We recently revisited this topic.

    Servers

    An example of a failed backup strategy came recently. A user had one server, and at the end of every day would duplicate the whole server to another server. This is OK for some scenarios and gives you a day-old server ready to bring out if your main server fails. We would have also suggested a second backup routine to run at the same time to some other storage. Preferably an external drive, accessible from a standard computer.

    The system worked fine for over a year, until server 1 failed one day. Instead of replacing the disks and then restoring from the backup, it was decided to reuse the original disks and then load them from the backup. They overwrote server 1 with the backup from server 2.

    When the restore was complete, it was discovered that the data on server 2 was actually corrupt. This corrupt data had also been written back to server 1. The client ended up with two corrupt servers, and no good copies of the data. Worst case scenario.

    You will often hear that deleted data isn’t really deleted. This is kind of true, but only until you overwrite the data with something else. By writing server 2’s data over server 1, that effectively overwrote the original data, and left no possible avenues of recovery.

    RAID Mirrors

    RAID Data Recovery
    RAID Data Recovery

    Another common problem we see is with external RAID cases like the Netgear ReadyNAS. These can be setup in a mirror mode which keeps the same data on both disks. Theoretically when one disk fails, the other can still be accessed. In reality the failed NAS will often end up in an unusable state where access to the data is not possible anyway. Even if you plug the hard drive directly into a PC, the NAS drives use a non-standard format so the data is not accessible.

    Avoidance

    The best way to avoid getting caught out by your backups is to never trust them. Be more paranoid. If you think you have a solid backup system then add another backup, just in case. Then next year add another. Most of the time it will seem irrelevant, but when your server and backup drives all get struck by lightning or end up flooded under six feet of water, you’ll be glad you spent the extra few pounds on an extra backup.

    Extra Credit.

    If you’re already using a Time Machine backup on your Mac then why not supplement that with a monthly whole-disk copy to a different drive. Carbon Copy Cloner or SuperDuper! can take care of it. This also has the advantage of being instantly bootable in an emergency and can even be stored in a locked safe, or at a friends’s house.

  • Data Survival Guide Mac

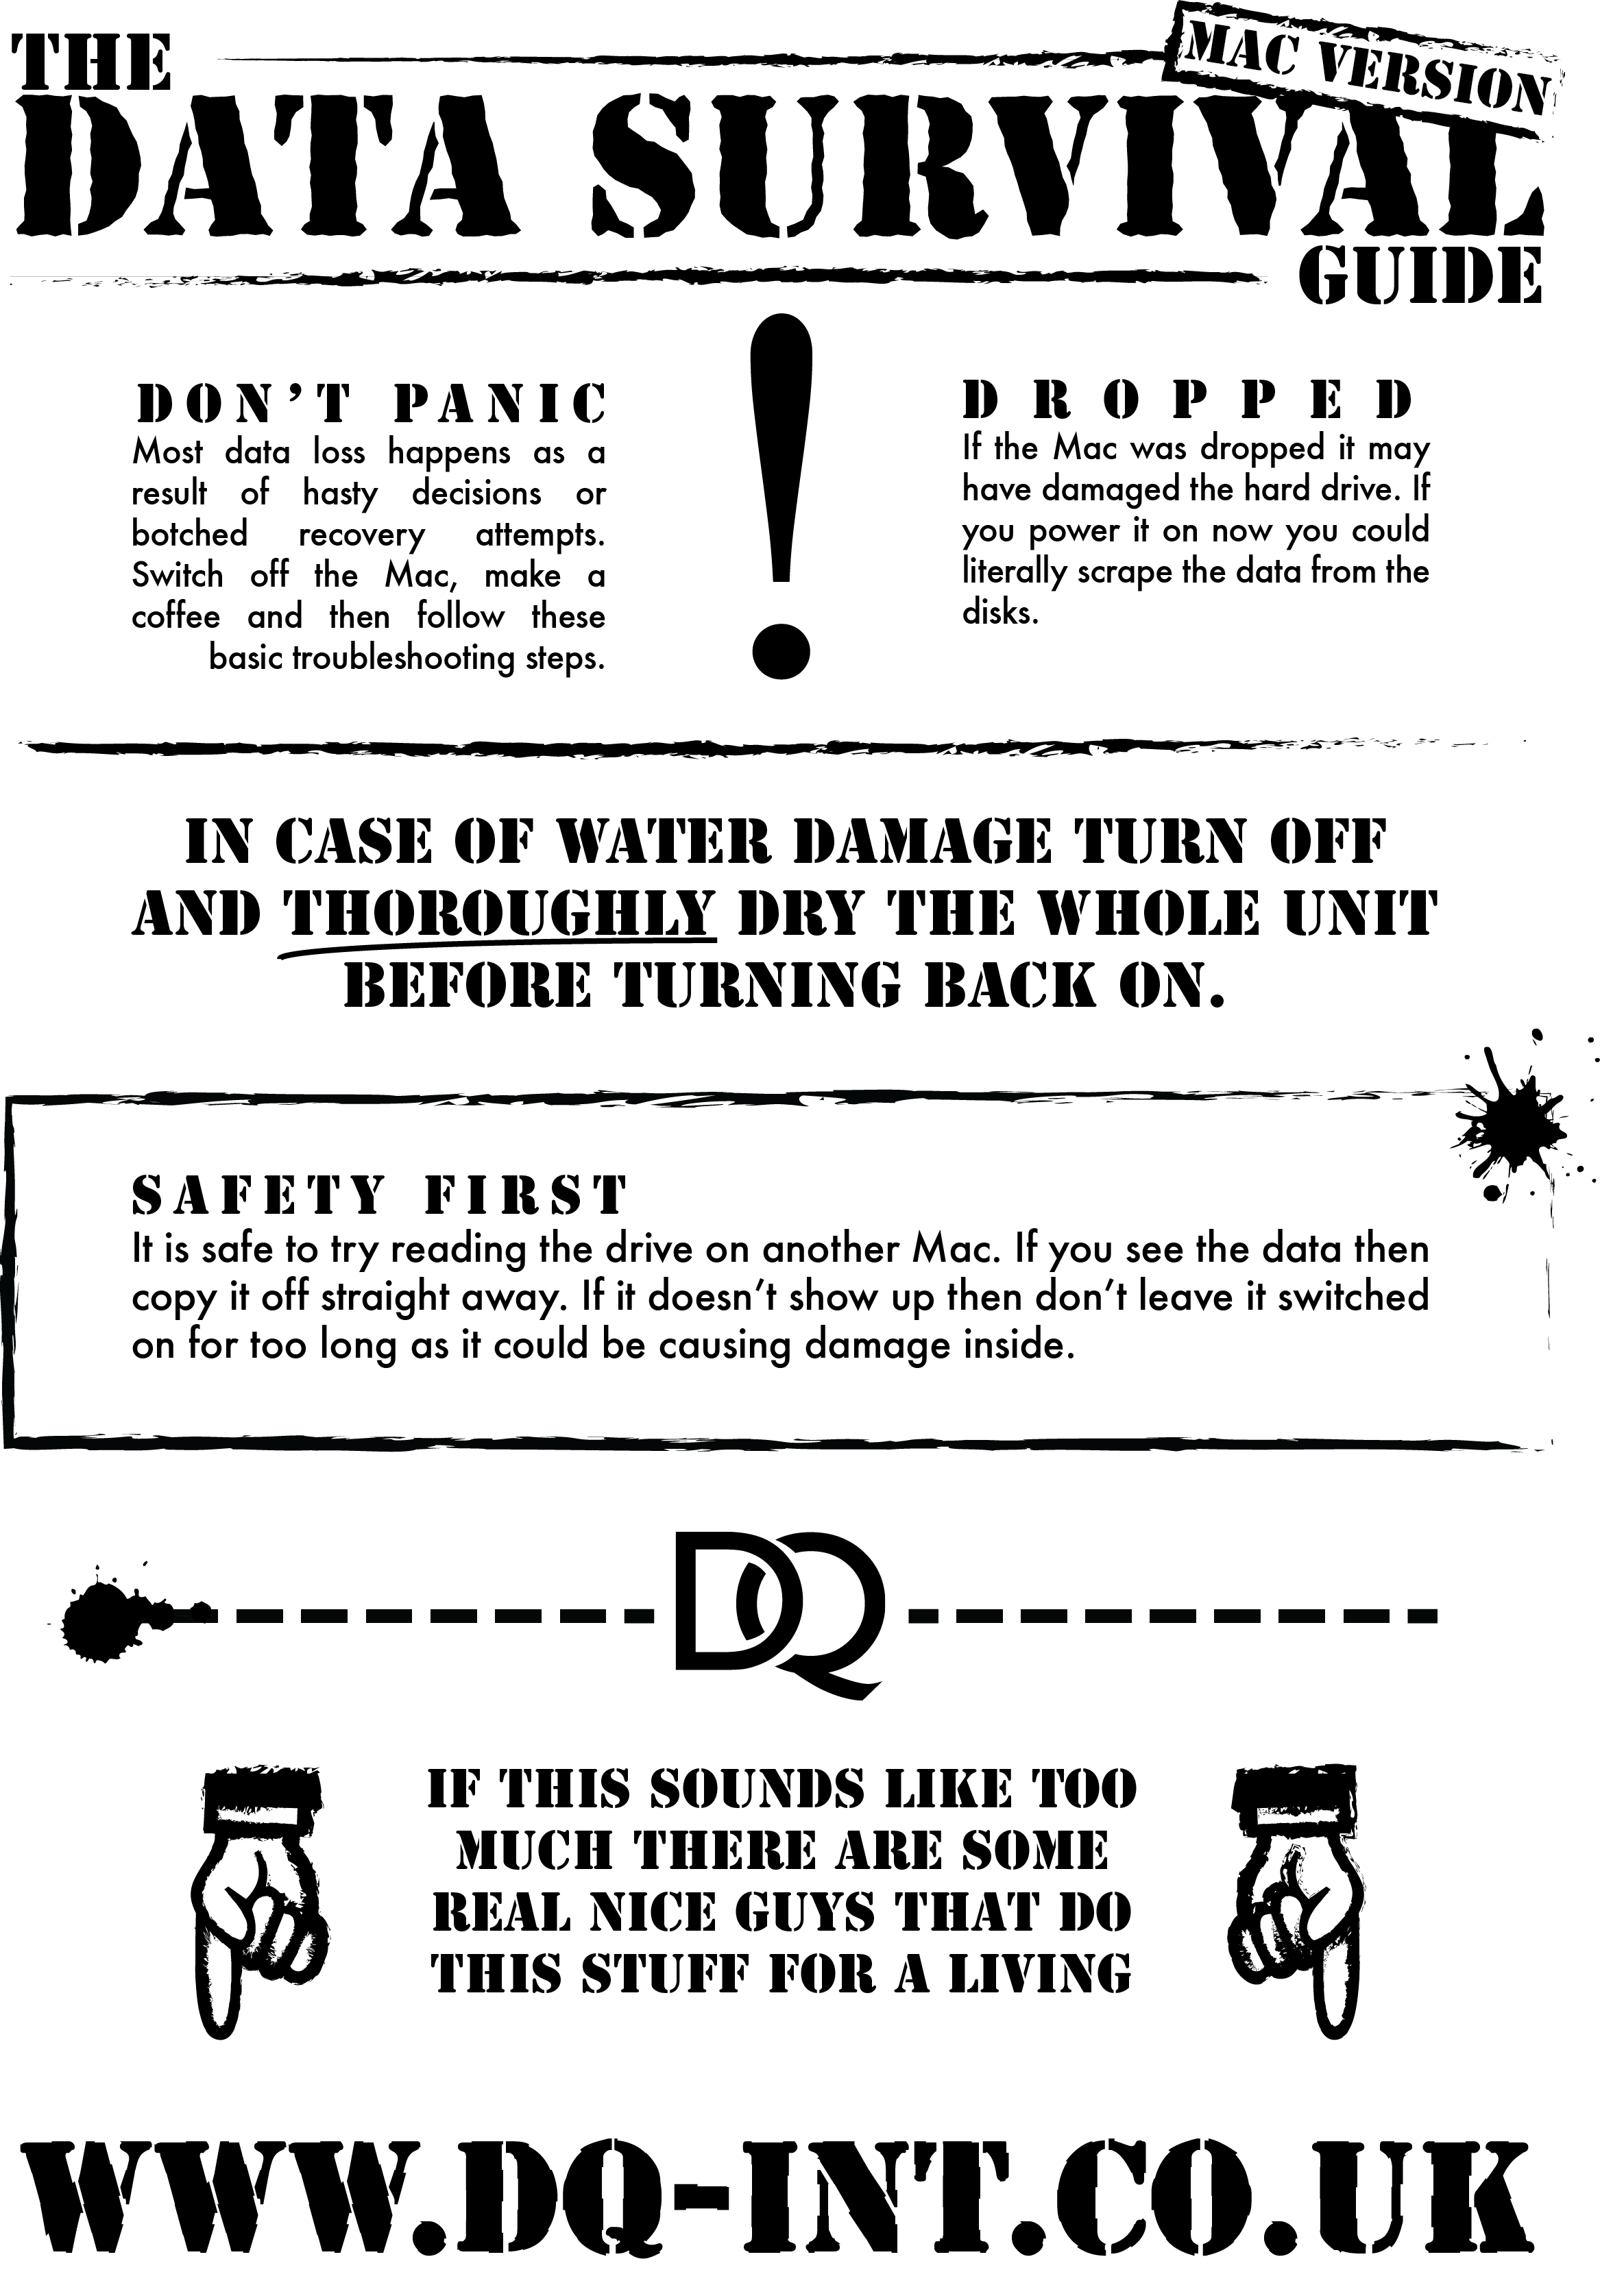
    Many hard drives we see have been more damaged by a failed recovery than they were in the first place. We have released the Data Survival Guide to help people avoid some of the common mistakes. This first version is for Mac users but we have more on the way.

    Why not print this out and keep it in your laptop bag in case of emergency!

    Data Survival Guide Mac
    Data Survival Guide Mac
  • iPhone Restore After Data Recovery

    iPhone Data Recovery
    iPhone Data Recovery

    When we recover iPhones, although we can usually provide the data in a computer-readable format, it is often easier to just load the data back onto another iPhone. Fortunately, as long as you restore the data in the correct order, you should get your iPhone up and running with your restored data.

    Preparation

    Before you attach the iPhone you need to make sure iTunes is ready for it. You need to put the recovered iPhone backup into the correct place for iTunes to find. Quit iTunes first.
    The iPhone backups go into:

    On a Mac:

    Users/username/Library/Application Support/MobileSync/Backup

    Note: Since 10.7(Lion) this folder is hidden. Click here for more info.

    On Windows Vista, Windows 7 or Windows 8:

     C:\Users\username\AppData\Roaming\Apple Computer\MobileSync\

    On Windows XP:

     C:\Documents and Settings\username\Application Data\Apple Computer\Mobile Sync\Backup

    Now copy your iPhone backup folder from the recovered data to the backup folder on the computer. If you’ve ever made any iPhone backups they will be in this folder with long unreadable names of random numbers and letters. It doesn’t matter that you can’t read it, iTunes can. Don’t rename it!

    So now your /MobileSync/Backup folder should look something like:

    iPhone Backup Folder
    iPhone Backup Folder

    Remember that the string of numbers will not be the same.

    Next you can launch iTunes and see if the iPhone backup is seen in the list. Within iTunes select Preferences and then the Devices tab (Image Below). If your backup file has been recognised then you should see the iPhone name in the list and the date of the backup. If not, go back and check that everything is in the right place.

    iPhone Backup Preferences
    iPhone Backup Preferences

    Sign In

    Next, it’s a good idea to sign in to the iTunes Store. If you’ve not used this computer with this iPhone before you may also need to authorise the computer to access your purchased apps and media. Once signed-in to the store you should choose the Store menu and select “Authorise This Computer…” Be aware that you can only authorise a set number of computers. (The limit can be reset if needed.)

    Media

    Now you can import the Music and apps into iTunes. Don’t worry if some of the apps don’t have icons yet.

    Lets Go

    Once all that is finished you are ready to connect the new iPhone. You will need to follow some on-screen prompts and settings, and then it will ask if you want to set it up as a new device, or restore it from a backup. This is where all that hard work pays off. Choose the backup, and let iTunes work its magic. It can take a while if you have lots to restore but when it’s finished your phone should boot into a familiar screen. Your Contacts, Messages, Calendars, Notes and lots of other data will be back in their respective apps.

    If none of the other apps got transferred you can choose the Apps tab within iTunes and tick “Sync Apps.” You can then tick whichever apps you want to send to the iPhone.

  • Where Has My Library Folder Gone?

    Starting with Mac OS X Lion (10.7) Apple decided to hide the Library folder within the User folder. It’s not gone, just hidden. Some crucial files like Mail accounts and iPhone backups get stored there, so there is a handy way to find the folder again.

    To find the hidden library folder, go to Finder and click the Go menu at the top of the screen. You will see a list of folders. Now if you press the alt / option key on your keyboard you will see the hidden library folder appear. This is only a temporary way in, and you will have to press the key again next time. The folder remains hidden the rest of the time.

  • Troubleshoot Buffalo External Hard Drive

    Like most external hard drives, Buffalo external drives are simply a wrapper around a regular hard drive. Aside from the protective shell they also have some electronic parts to convert between the internal hard drive and the external USB, Firewire, eSATA or Thunderbolt connections.

    If you have problems with an external drive, you can perform a relatively simple test to check where the fault lies. Be aware that opening the external drive case will probably void your warranty, and if there is crucial data on the drive you should seek professional data recovery. That’s the obligatory warning out the way, so lets have a look at some troubleshooting.

    Troubleshooting tips.

    • First check all cables are plugged in securely, and not damaged or frayed near the ends.. If you have an identical drive with spare cables try them, but make sure you don’t plug in a power supply with different voltage! Hard drives don’t handle extra voltage well so you’ll end up in a worse position than you started.
    • If you know how, you could remove the hard drive from the external case and attach it directly to a PC to see if that allows access to the data. If it does, you should copy the data off straight away. The drive could still be faulty & fail again soon.
    • Whatever you do, don’t dismantle the actual hard drive. Hard drives are built in controlled clean-air environments and even the smallest spec of dust can cause permanent damage to the drive.
    • Since the introduction of unique ROM chips on the hard drives, it is often no longer possible to exchange circuit boards with another hard drive to access the data. In our experience circuit board problems are far less common than they used to be.

    If you are looking for a data recovery service for your external hard drive then have a look at our external drive recovery services.

  • Which RAID Settings Should I Use For My NAS?

    RAID 1 (Mirror)

    A NAS (Network Attached Storage) puts storage onto your network, where it can be accessed by many computers. They often have more than one hard drive which can allow you to have automated copies of your data, which is known as RAID. A common type of RAID found on NAS devices is RAID 1, which will make two hard drives into a mirror copy of one another. Some manufacturers call RAID 1 Safe mode. If you have a NAS with two 1TB hard drives and set them to RAID 1 mirroring, instead of 2TB of storage (1TB x2) you only get 1TB. Everything you store to the NAS gets saved to both drives automatically. The theory is that if one of the drives fail, you can access all of the data from the other one. In practice that is not always the case. More on that later.

    RAID 1 Mirror Animation
    RAID 1 Mirror Animation

    RAID 0 (Stripe)

    Another common NAS option is RAID 0. The “R” in RAID stands for redundant, however there is no redundancy in RAID 0, so it’s not a real RAID type. If you setup the same two 1TB disks as RAID 0, you will get a 2TB volume to store your data on. The problem is that every single file you write to the NAS will be split into tiny pieces and distributed across both drives. If one drive fails, you not only lose the data from that failed drive, but also from the non-failed drive as it only contains half the pieces of each file. RAID 0 should never be used for long term storage, but can be fast so is often used for video editing.

    RAID 0 Stripe
    RAID 0 Stripe

    So that’s the hardware taken care of. What other things should you look out for when choosing a NAS?

    Another problem with most NAS devices is the non-standard filesystems they use to store the data on the disks. If the NAS itself fails, you cannot usually read the disks by attaching them to a standard PC. So even in RAID 1 mirror mode, you could end up with no usable copies of your data. Most NAS drives run a simplified version of Linux, but only some of them use standard Linux filesystems like ext2/3/4.

    Backup my backup?

    Some NAS drives have a USB port to allow you to backup the data to an external hard drive. This is great, as long as you can access the backup data on a regular PC, and it doesn’t need to go through the NAS. You can imagine why that would be a problem.

    To summarise, NAS drives can be a great way to upgrade your home or small office storage. They can allow collaboration and sharing of files between users, and should simplify your backup process. Just remember that a NAS is a small server that needs to be backed up as a matter of urgency. As long as you have that covered then a NAS can be a smart addition to your network.

  • SSD Data Recovery

    SSD Data Recovery
    SSD Data Recovery

    SSDs (Solid State Drives) may one day become the standard form of storage in computers. Apple laptops are already heading that way. There are certainly many advantages when comparing SSDs to HDDs (Hard Disk Drives), however they do bring their own problems, which are often not well reported. We don’t care how good SSDs can be. We care about how they fail. It’s common to hear things like: “I’m replacing my hard drive with an SSD so I won’t have to worry about it crashing again.” While this is technically true – there are no moving parts to crash – there are plenty of other ways an SSD can fail. Whether it’s technically crashed or not doesn’t matter at all when you can’t access your files. It’s a shame but an SSD does not get you out of the boring task of running regular backups.

    There are some pros and cons which specifically affect data recovery from SSDs. I haven’t listed things like battery life or read / write speed as they are not relevant when it comes to recovering data from them.

    SSD Data Recovery Pros:

    • Shock resistance. No moving parts to crash.
    • Just as susceptible to filesystem issues, deletion, reformatting, bad sectors etc which can be recovered using existing equipment.

    SSD Cons:

    • False sense of security. The word reliable comes up a lot in SSD marketing with phrases like “More reliable, faster, and more durable than traditional magnetic hard drives.” Maybe research exists that shows SSDs are less prone to failure but it doesn’t seem to be the case at the moment. Anything that holds your valuable data runs the risk of getting drenched, getting stolen, getting lost, and that’s before we even take general failures into account.
    • Susceptible to electronic failure, Maybe more so than a hard drive as the storage and electronics are combined in SSDs. Some of the most common hard drive failures are caused by errors in the firmware which controls the performance of the drive. SSDs have very complex firmware, which opens the possibility of firmware corruption. In most cases firmware corruption will block access to your data.
    • Encryption. Most modern SSDs encrypt the data at a hardware level, which makes it impossible to remove data chips and extract data from them externally (you can do it, but the data is encrypted). The keys to the encryption are often stored within the controller chip, so if that fails, you could be locked out of your data for good. Modern encryption works well. You can’t get round it.
    • Wear-levelling algorithms. Which move the data around the SSDs to improve performance, can make recovery difficult as these algorithms would need to be taken into account when accessing a failed SSD. They don’t store data in logical order like hard drives do.